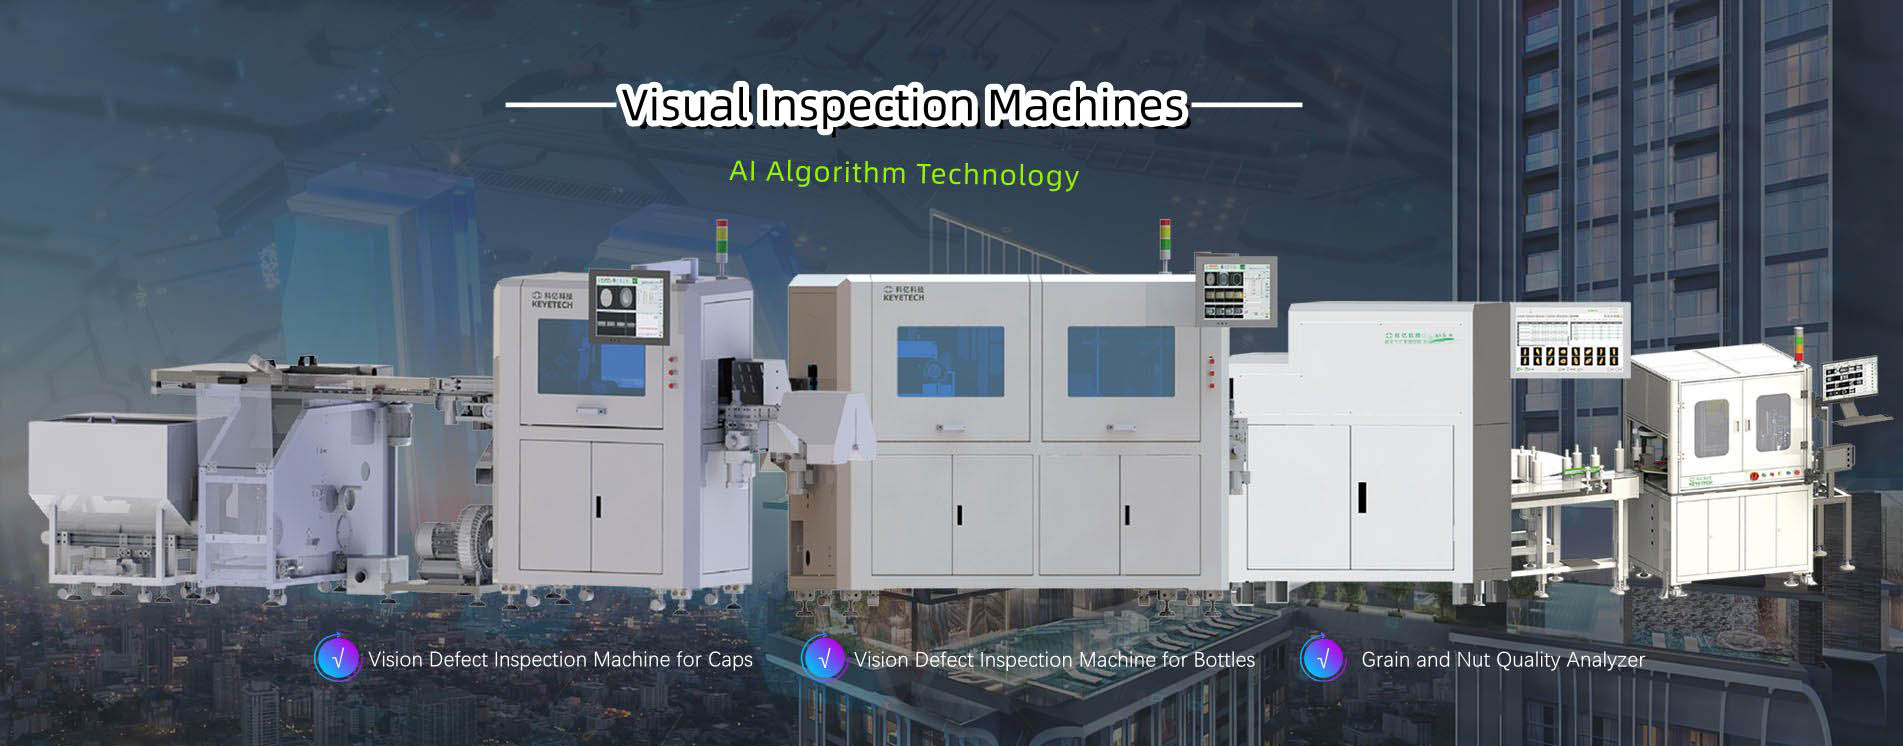
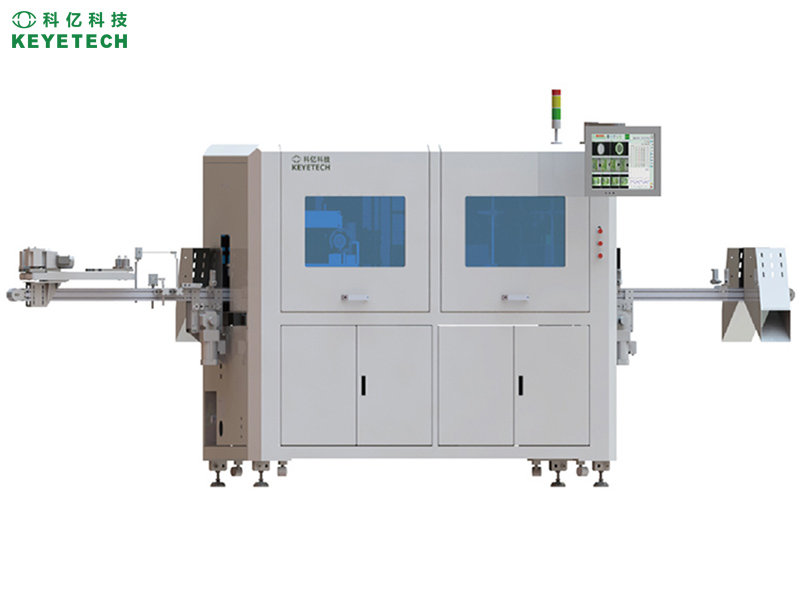
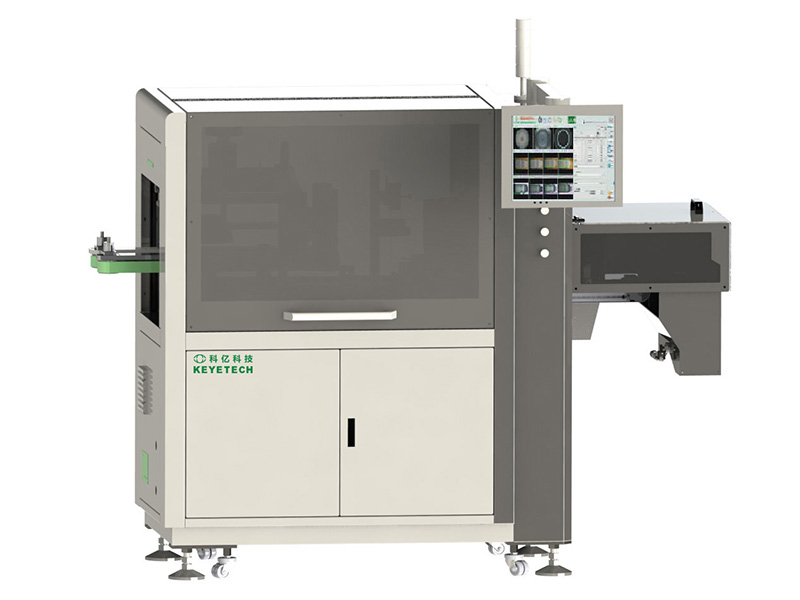
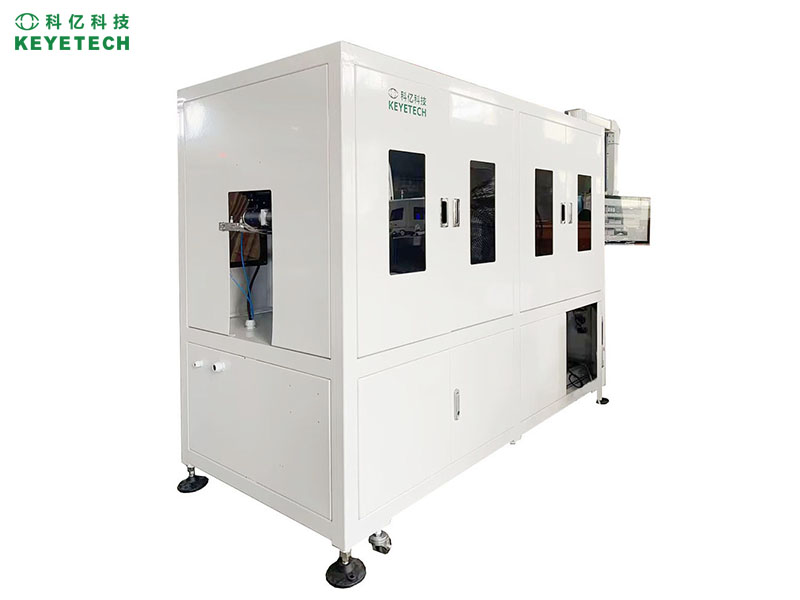
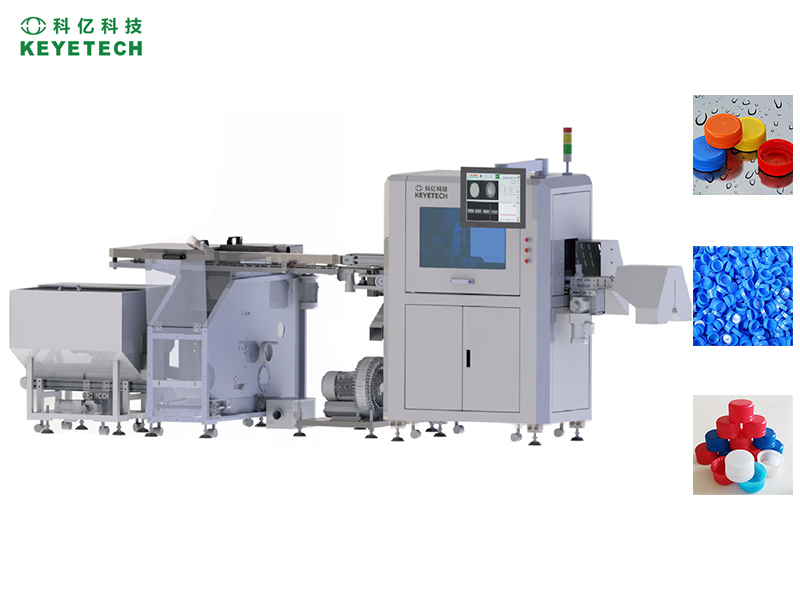
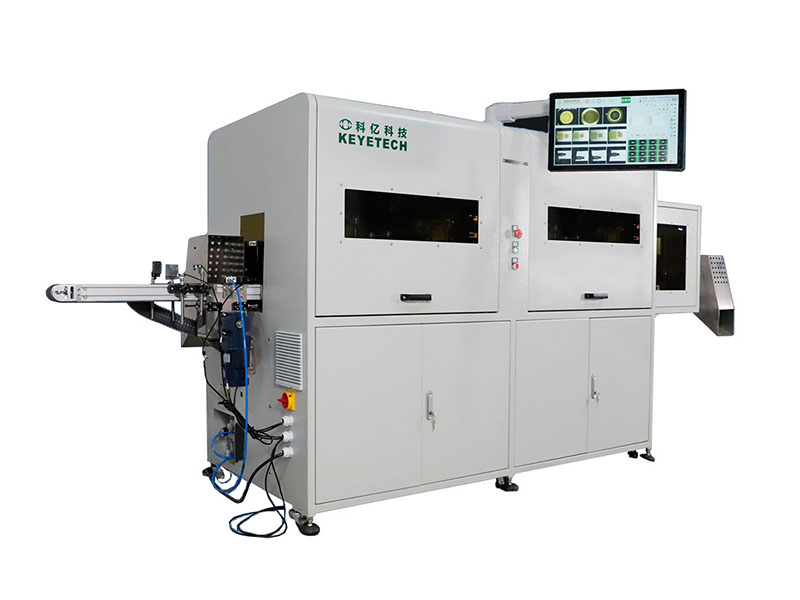
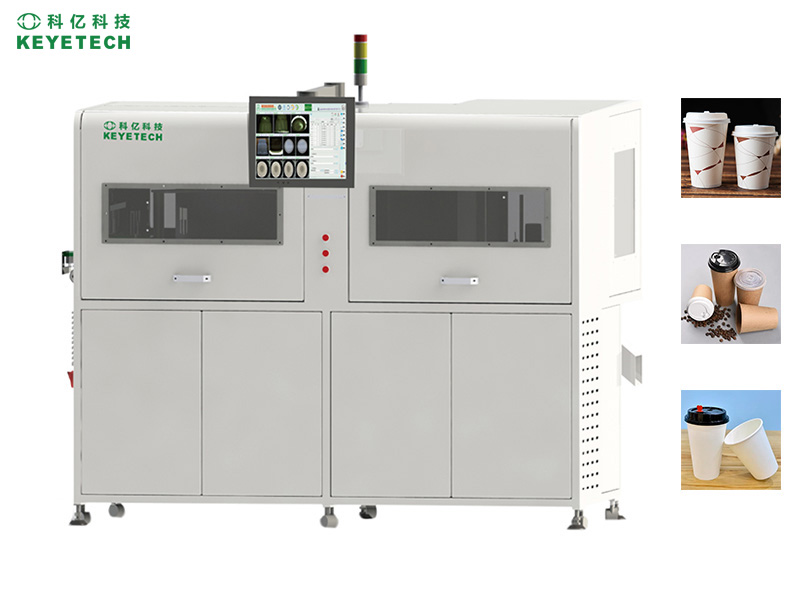
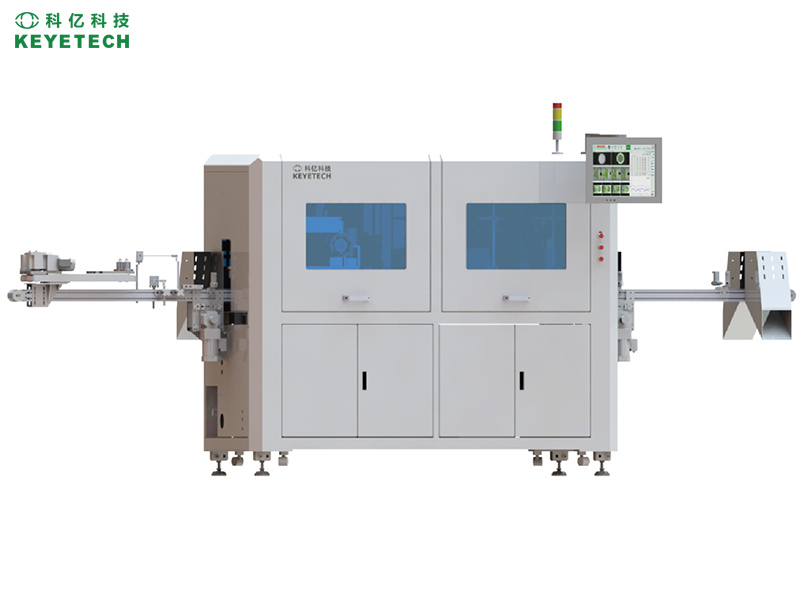
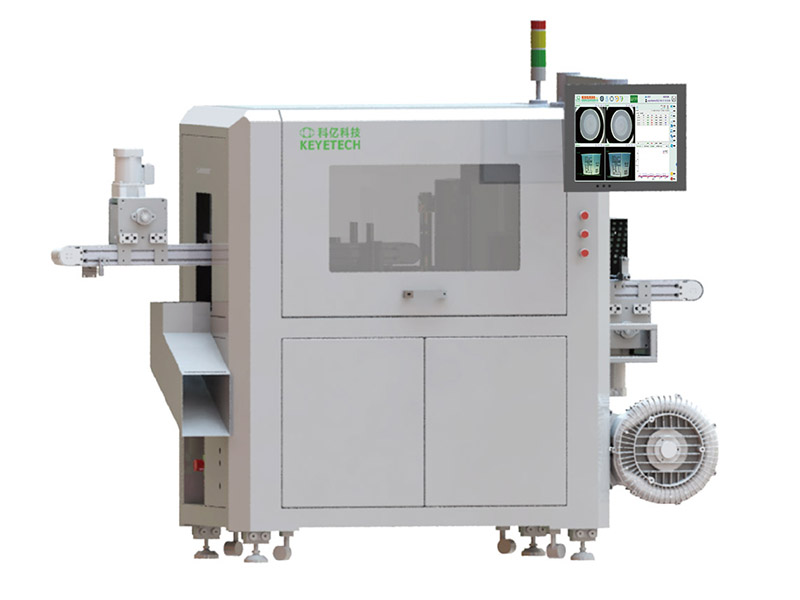
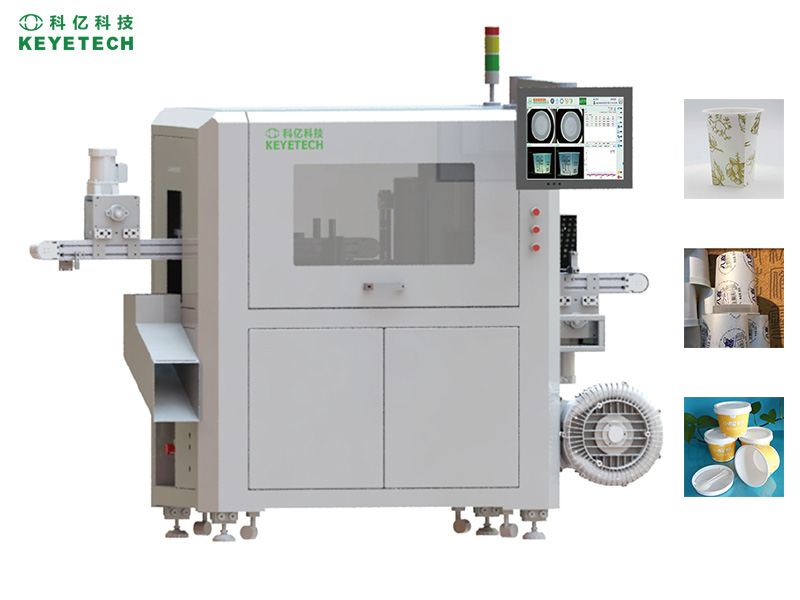
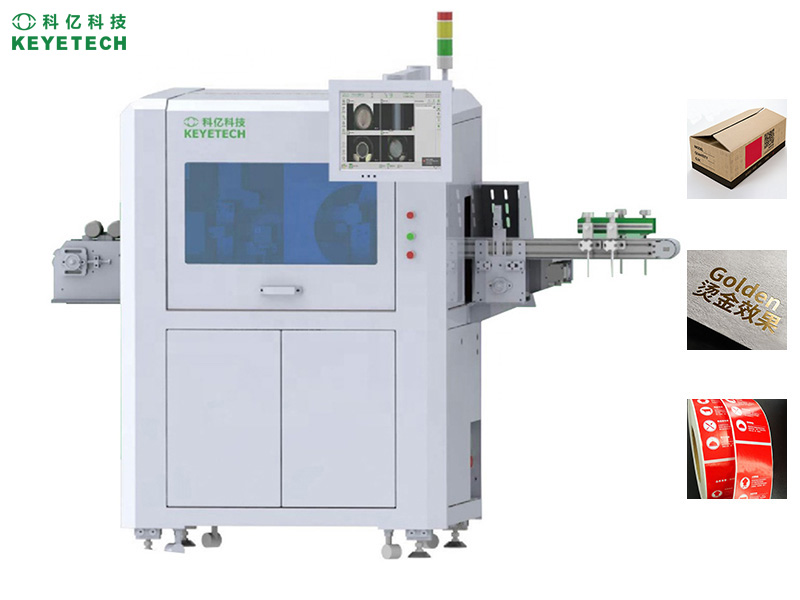
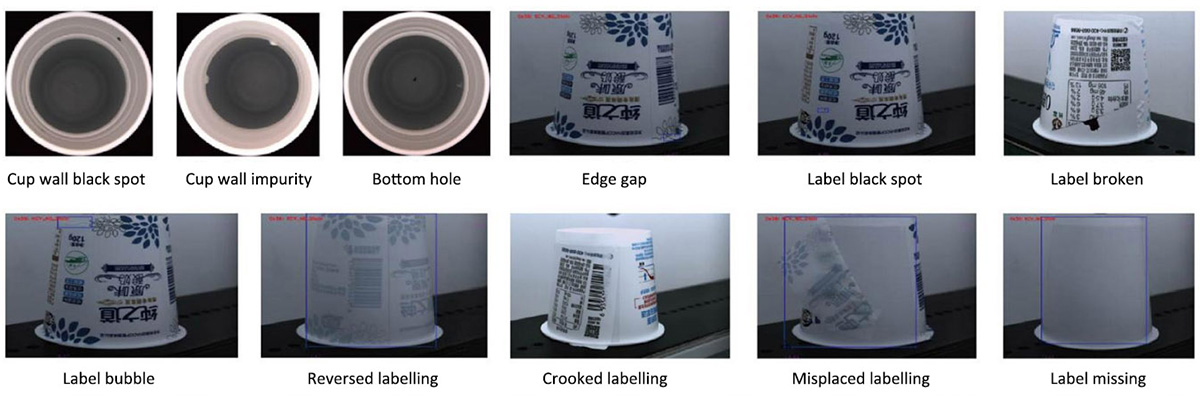
Automated IML inspection machine is online high-speed detection, improving detection efficiency and accuracy, and reducing labor costs. It adopt high pixel industrial cameras for precise recognition, with on-demand camera quantity design, accuracy of 0.1mm, and customizable speed according to detection needs. The machine is compatible with testing multiple specifications of products, saving costs, it can detect and remove defects such as missing characters, missing labels, label offset, blurring, QR code reading, bar code reading, black spots, color difference, impurities, etc. from the labels online.
With the self-developed hardware and software this IML inspection is very simple and easy to operate, you just need few defective samples to train in our AI training platform, you can update your inspection software by yourself or our team. Both the AI system and training platform are online updated with our own server.
![]()
Main Features
- High pixel industrial camera
- High resolution industrial lens
- High brightness LED strobe light source
- Artificial intelligence (Al) algorithm
- High performance GPU computing processing unit
- High resolution industrial touch screen
- Customizable AI quality inspection system
![]()
Main Specifications
| Defect Types |
Poor labeling like label overlapping, crooked, dislocation, bubble, wrinkled, and also black spots, stains. |
| Inspection Positions | Labels on the cup body, mouth, inner wall and exterior bottom |
| Inspect Speed | 150pcs~300pcs/min |
| Precision | 0.1mm |
| Accuracy Rate | >99.9% |
| Compressed Air | 0.5Mpa~0.8Mpa |
| Net Weight | About 260Kg |
| Dimension | 1277*670*1634mm |
| Power | 3~6Kw |

Main Configurations
| Description | Model/Brand | Quantity |
| AI Algorithm Software Series | KVIS 16 | 1 Set |
| AI Cloud Service Platform | KeyeTech | 1 Set |
| Industrial Camera | KeyeTech / HIKVISION | 6 Pcs (customizable) |
| Plane Lens | HIKVISION | 6 Pcs (customizable) |
| Strobe Light Source | KeyeTech | 1 Set |
| Photoelectric Sensor | SICK (Germany) | 1 Pc (customizable) |
| Electromagnetic Valve | SMC (Japan) | 1 Pc (customizable) |
| Industrial Power Kit | LRS Seris | 1 Set |
| Main Control Panel | KY-INS-V21 | 1 Set |
| PLC | RTS-3060 | 1 Set |
| Embedded Computing Unit | KYEBS-1684 | 1 Set (Optional) |
| HID UI System | 21 Inch | 1 Set |
| Mechanical Structure | 304 Stainless Steel | 1 Set |

Product Applications
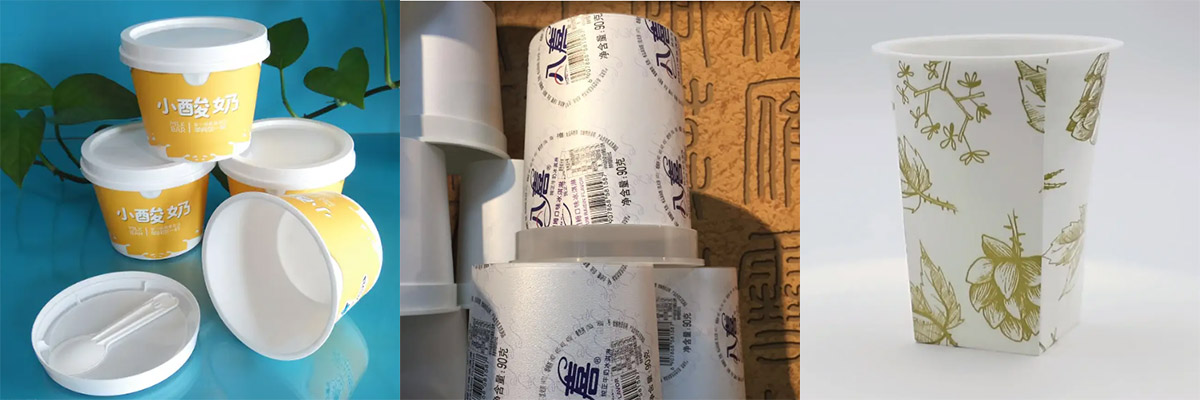
KeyeTech automatic IML printing defect inspection machine can inspect the IML defects of the paper plastic&plastic cups.

Main Technical Advantages
-
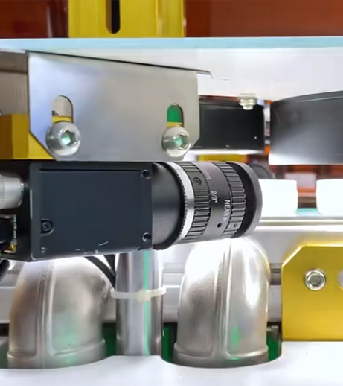 HID Industrial CameraSelf-developed high precision industrial camera together with field famous HID lens, equipped with KeyeTech AI algorithm system, it can be achieved to high speed and high precision visual imaging effect.
 -
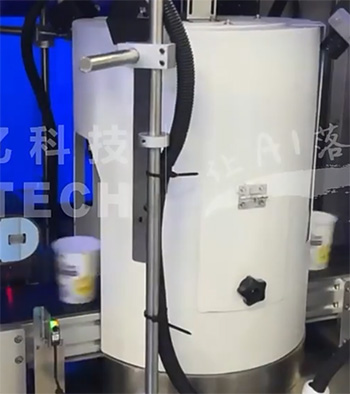 Customized Light SourcesSelf-developed strobe LED light source, design the special use light source based on different character appearance defects. The integrated cavity light source can get more uniform imaging of the sidewalls.
 -
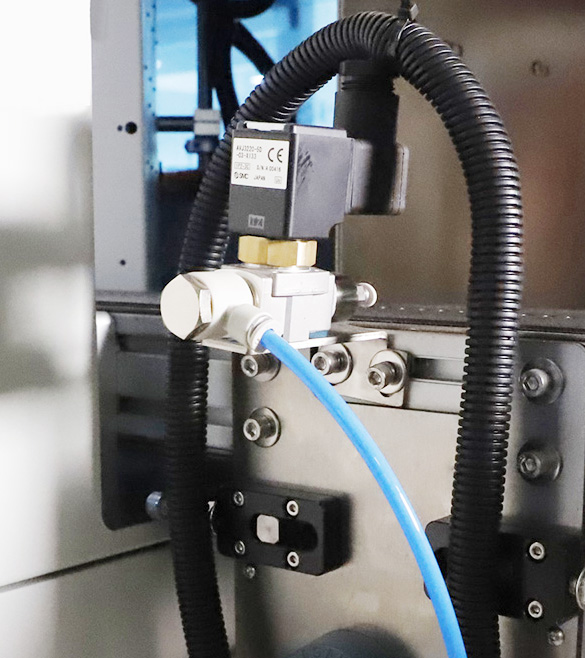 Automatic Control SystemHigh efficiency GPU processing unit and customizable HID human-computer interaction software work together with high performance electromagnetic valve can achieve to full automated control.
 -
 KeyeTech AI SystemKeyeTech software system adopt AI deep learning algorithm is the core technical advantages of the machine, reaching to more precise, faster speed imaging and defect recognition, greatly improve the efficiency.

FAQ
Q: What's kind of printing product can be inspected?
A: It can inspect the defects of IML printing cups
Q: What kind of defects it can inspect?
A: This IML inspection machine can inspect the bad labeling, such as label crooked, overlapping, dislocation, wrinkled and also stains gaps.
Q: How many defects can be detected by one machine?
A: The quantity of defects is unlimited, it's depended on customer's detection request.
Q: How many cameras are equipped in the machine?
A: The camera quantity is also decided by the detected defect kinds and positions, the more kinds the more quantity.
Q: What's the definition of the camera?
A: The definition of the camera and lens are depended on your defected precision, i.e, the definition is different if the defected precision is 0.2mm and 0.5mm.
Q: If the camera is self-developed or buy from the professional camera producers?
A: Most of the cameras are designed and developed by ourselves, especially the inspection system is AI algorithm, the camera must match the AI system.
Q: Is the cameras are the most important for the inspection?
A: Camera is one of the most important hardwares of the equipment, the AI algorithm software system is the key technology for the machine.
Q: How to solve installation and adjustment?
A: We will send our skilled engineers to you for installation and adjustment, it takes around one week.
Q: Is difficult to use your machine, how to train our people?
A: Yes, the machine system is sophisticated, but the control for you is easy. We can train your people online via KeyeTech AI platform which is very convenient, and you can also send your technician to our company to learn, it's free.
Q: What's your machine's guarantee? Can you supply the spare parts in the future?
A: We supply the one year warranty for our entire machine, 3 years warranty for hardware like the camera, lens, sensor, (If damaged by personal improper use customer need to purchase from us). We are responsible for the spare parts and maintenance for long time.
Q: What's detailed information i need to supply to get a quote?
A: Customers need to supply some exact answers to us for a quote:
- How many IML cups in total to be inspected?
- What's color and size of the labels? (need samples or drawing)
- How many different defects need to be detected?(need samples or drawing)
- Inspect for target position or 360° full positions?
- What's the request of the inspection speed?
- Any special requirement for inspection precision?
- Online or offline inspection? If online how to match your IML cup machine?
The above are part of the questions we need to discuss before the quote, for a exact quote we also need physical defect samples.
Remarks: In order to design equipment that meets customer needs more accurately, we need to have detailed communication between both parties on the details of testing, and only then can we confirm the equipment parameters. This requires some time and process, and we hope that customers with purchasing needs can come to our company for face-to-face communication and inspection.


